Segments
Segments (also known as Saved Views) allow you to save a specific configuration of filters and custom metrics for quick access. Instead of manually reapplying the same filters every time you visit your dashboard, you can simply switch to a saved Segment.
Creating a Segment
- Apply Filters: Set up the dashboard exactly how you want it. This includes:
- Date ranges and time buckets.
- Specific filters (e.g., Country = USA, Browser = Chrome).
- Selected metrics on the chart.
- Open Segments Menu: Click on the Segments dropdown (bookmark icon) in the top right header.
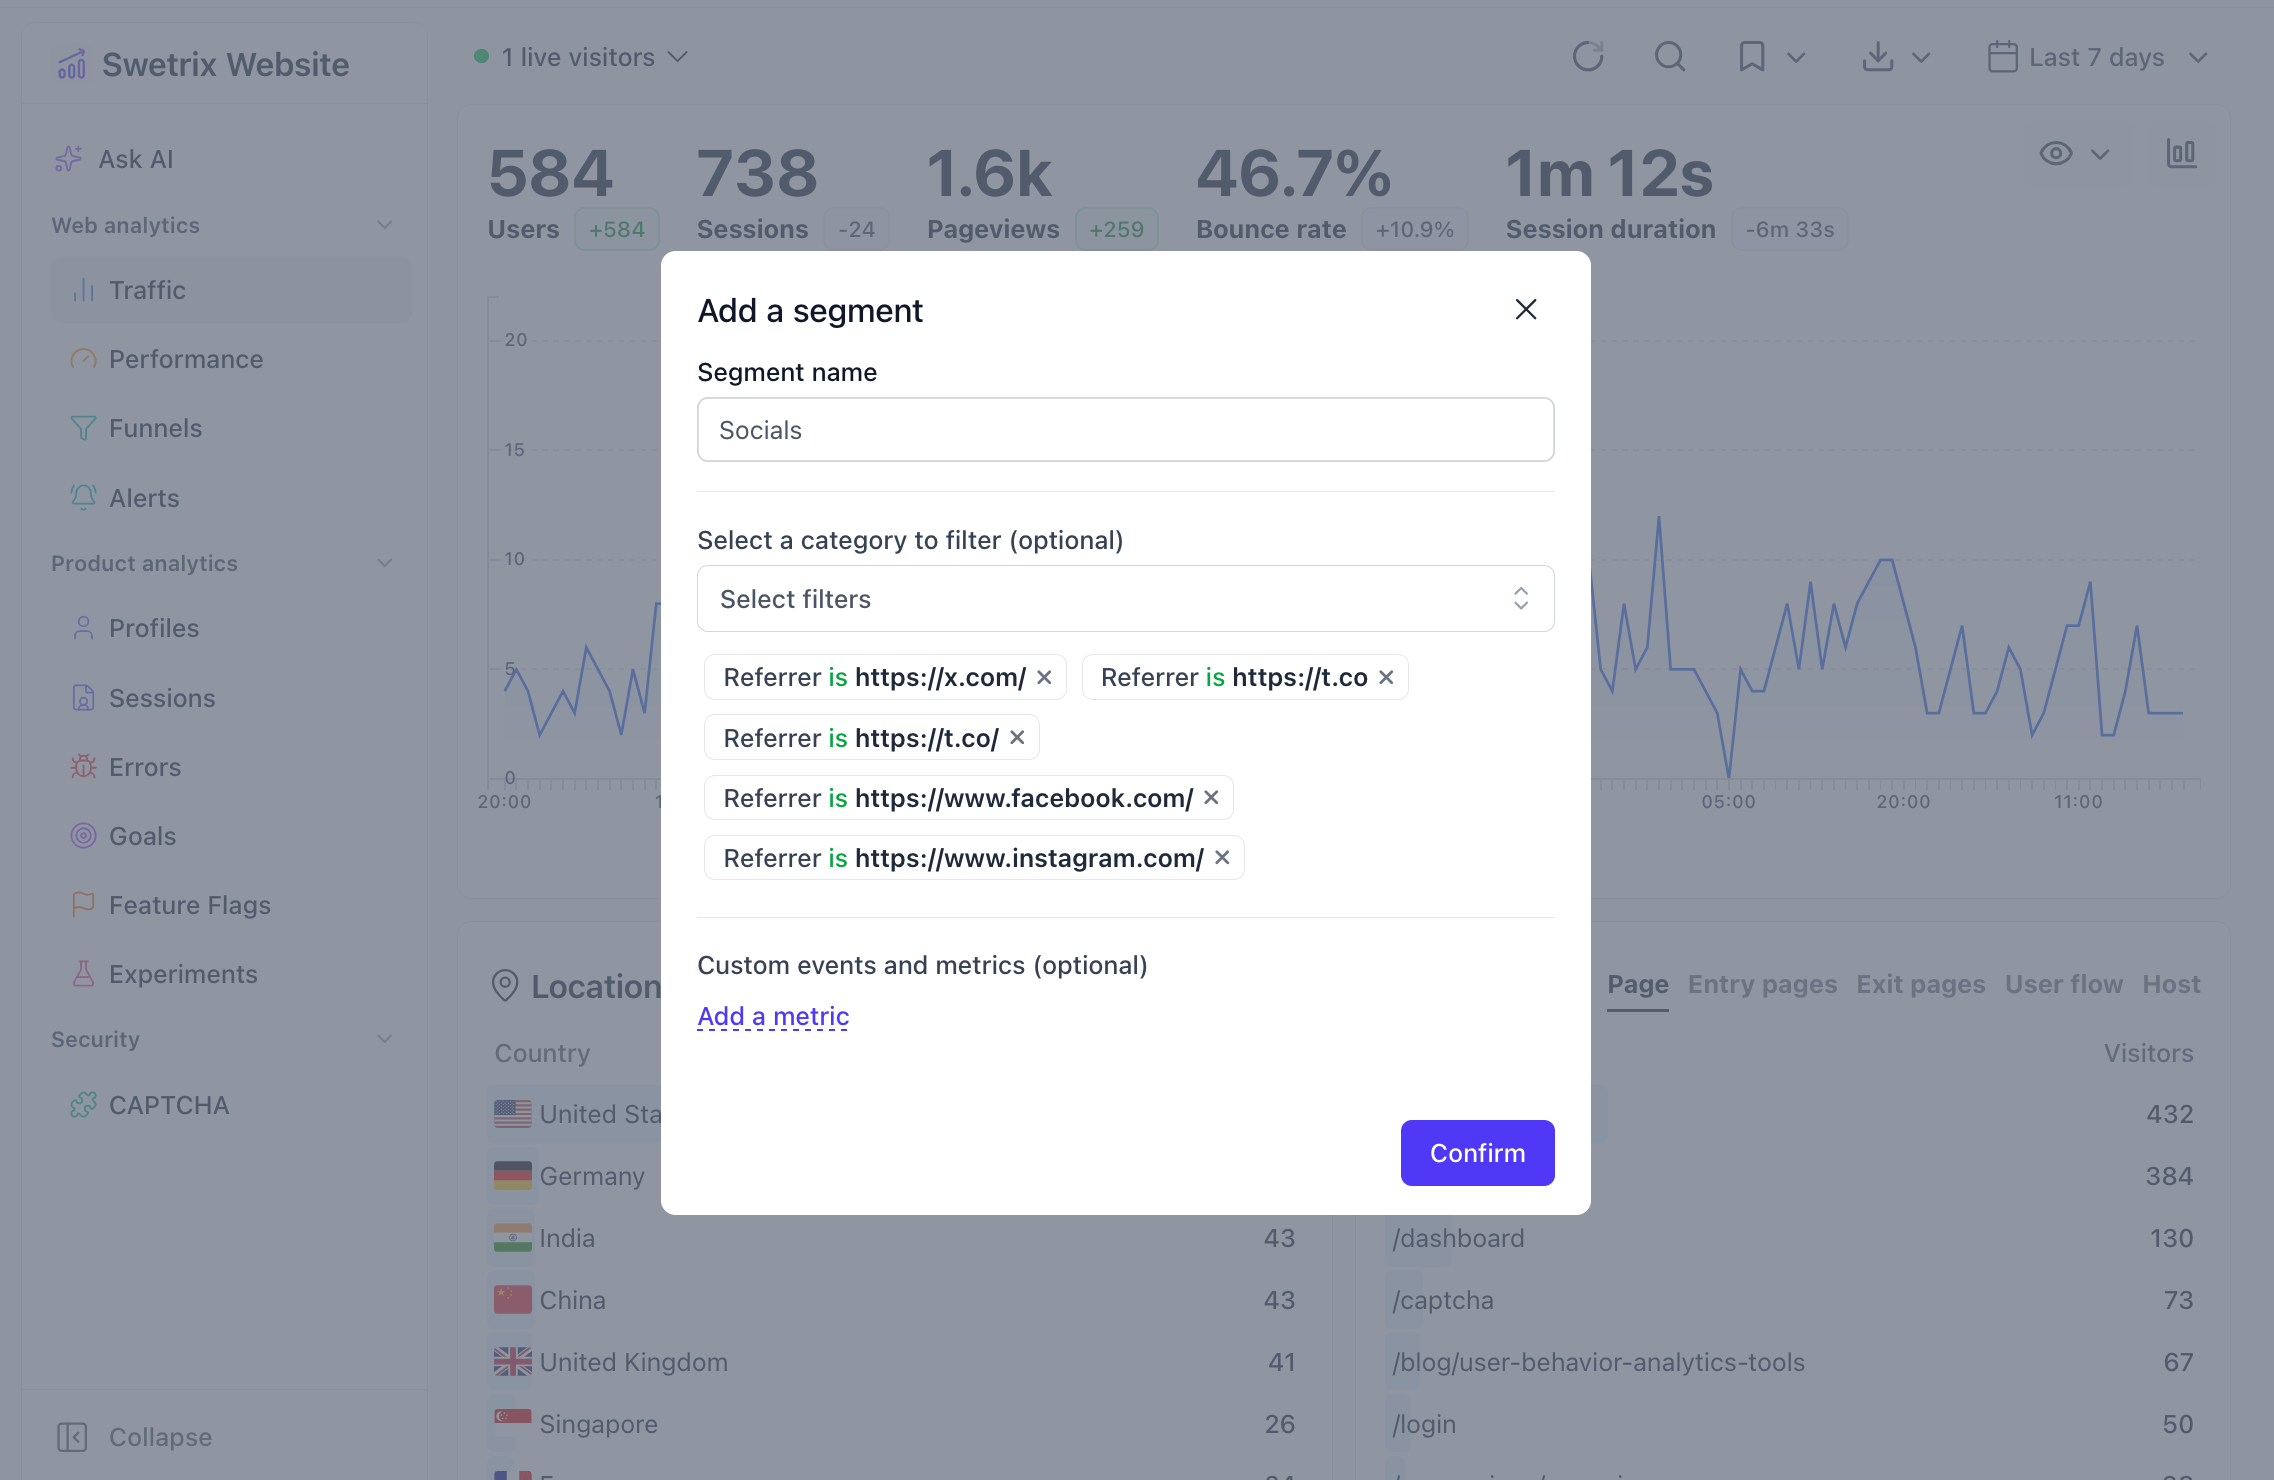
- Add Segment: Select Add a segment.
- Name It: Give your segment a descriptive name (e.g., "US Mobile Traffic").
- Save: Confirm to save your current view.
Using a Segment
To switch to a saved segment:
- Click the Segments dropdown.
- Select the segment you wish to view from the list.
- The dashboard will immediately update to reflect the saved configuration.
Managing Segments
You can manage your segments directly from the dropdown menu:
- Edit: Click the pencil icon next to a segment to rename it or update its configuration.
- Delete: Click the trash icon to remove a segment you no longer need.
Help us improve Swetrix
Was this page helpful to you?